Information technology's not difficult to patch a popcorn ceiling, but it does require a little bit of prep work ahead of time. With a stride-by-step similar this ane, well-nigh DIYers are qualified to tackle this task. Like any home renovation project, brand sure you have all the tools and supplies you lot will need before you begin and then you don't have to finish partway through.
Personal Protective Gear (PPG): Cut resistant gloves, safety glasses
If you've ever watched someone patch a popcorn ceiling on those home renovation shows, you will notice one of two things. Either the room they are working in will be empty, or plastic will cover any furniture. This is due to the sheer amount of grit that will result from this project. It also protects from any damage from paint splatter at the end.
Before y'all bear on the ceiling, yous will want to prepare the room. The large plastic sheeting that painters use works great for this blazon of work, and it's normally inexpensive at your local home building eye.
Once y'all've cleared the floor below the expanse to be repaired and moved or covered whatever article of furniture, you're ready to begin.
2. Remove Texture from Damaged Ceiling
IMPORTANT Annotation: Near joint compounds (this is used to texture ceilings) independent asbestos until the tardily 1970s. Asbestos is extremely harmful to your health. So, if your business firm is older than 1980, information technology's a good idea to hire a qualified professional person or at least have the texture tested for asbestos.
Soak the surface area being repaired with warm or hot h2o from your spray bottle. This will exercise 2 things. It volition make the texture much easier to scrape off, and it volition keep the dust down.
Before scraping, put on safe glasses to forbid chunks of the texture from falling into your optics. Using your half-dozen-inch putty knife, clear the texture from the ceiling. You lot don't have to become information technology perfect at this betoken considering y'all may end upwardly removing a chunk of drywall instead. Just clear enough so you can see how much the drywall itself is damaged.
three. Supplant Damaged Drywall
Paradigm Credit: Virrage Images, Shutterstock
Once you have cleared most of the texture from the area, determine whether the drywall needs replacing. If information technology is not soft or spongey from h2o damage and at that place are no pregnant holes, then you tin motility on to footstep v.
However, if in that location is severe h2o harm or holes, y'all should replace some drywall.
The easiest affair to practise is figure out where the two closest rafters in the ceiling are on each side of the impairment. Then, cutting the drywall back to the centre of each rafter (the rafters volition each exist one½ inches wide). In one case yous pull that chunk of the ceiling down, you lot should be left with a reasonably clean square or rectangle opening, depending on how much damage there was.
Measure how big the replacement drywall piece needs to exist and cut information technology accordingly (make sure you lot wear cut-resistant gloves in case a slip happens while cutting).
Depending on how wide the piece you removed was, you will need 2 – iv screws to secure the new drywall. And don't forget to put the same number of screws in the existing ceiling where you cut dorsum to in the rafters as information technology volition be hanging loose at present.
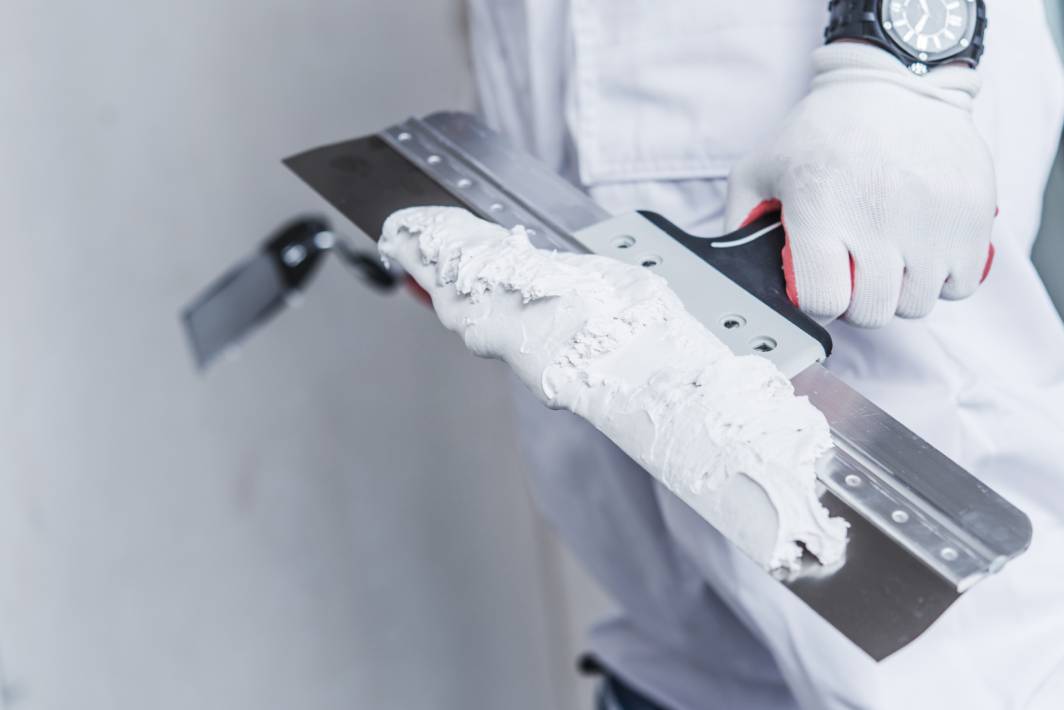
iv. Apply Tape and Joint Compound if Drywall was Replaced
There are a couple of steps involved here due to a 24-hour drying fourth dimension betwixt coats of the joint compound—or, every bit some people telephone call it, "mud."
Before applying joint tape and compound, make sure to scrape approximately half-dozen inches of texture dorsum from new joints in the ceiling.
Commencement Glaze
Using your four-inch putty knife, apply a layer of articulation compound along the joint. Hold upward the tape and rip a piece of the aforementioned length as the joint minus roughly a ½ inch at each end. Press the putty knife firmly in at an angle at one end, and in one motility, slide it along to the other. This should embed the record into the mud against the articulation and clasp out all the excess.
Second Coat
Later on giving the first coat of articulation compound and tape 24-hours to dry, you are fix for the final glaze.
Showtime, scrape whatsoever ridges in the dry out chemical compound flat. Then, spread a layer of mud over the tape using your half dozen-inch pocketknife. Exercise your best to smooth or "plumage" the border of the mud, so information technology'due south apartment every bit possible. Withal, because you lot are texturing over this articulation, getting it 100% shine is not as crucial as if this was a wall or information technology wasn't getting a texture.
Once you've allowed the 2d glaze of joint chemical compound to cure, lightly sand the edges with a sanding block. The goal here is to make sure it's relatively shine, with no prominent ridges or bumps.
Note: Sanding volition cause a lot of grit that is non healthy to inhale. Wearing a mask is recommended, and if yous have a store-vac, holding it up while you sand can significantly reduce the dust.
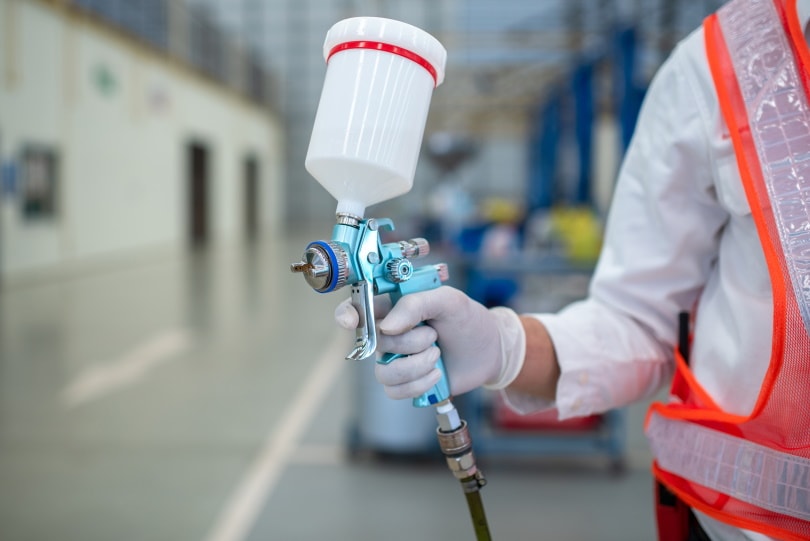
5. Spray or Sponge on New Texture
Image Credit: BELL KA PANG, Shutterstock
For the new texture, yous have two options. A spray-on texture is the easiest route. Whereas sponging the texture is more precise, giving you greater control over the end event of matching the existing texture.
Spray-On
There are various brands to choose from, but they are all like in their application. Essentially you will agree the can eight – ten inches abroad from the ceiling, depress the trigger, and sweep evenly back and forth. Make certain to follow specific directions on the tin, as some vary slightly.
Sponging
To sponge the texture, you lot will need a course construction sponge. Dip the sponge in the same joint compound y'all used earlier and dab it onto the ceiling. Do this over and over, randomly. As y'all get to the existing texture, yous tin accommodate your sponging to try and mimic the old texture closely.
Every bit the chemical compound starts to dry, yous can also do a knock-downwardly. Basically, have i of your putty knives and interruption the tips of the texture to flatten it slightly.
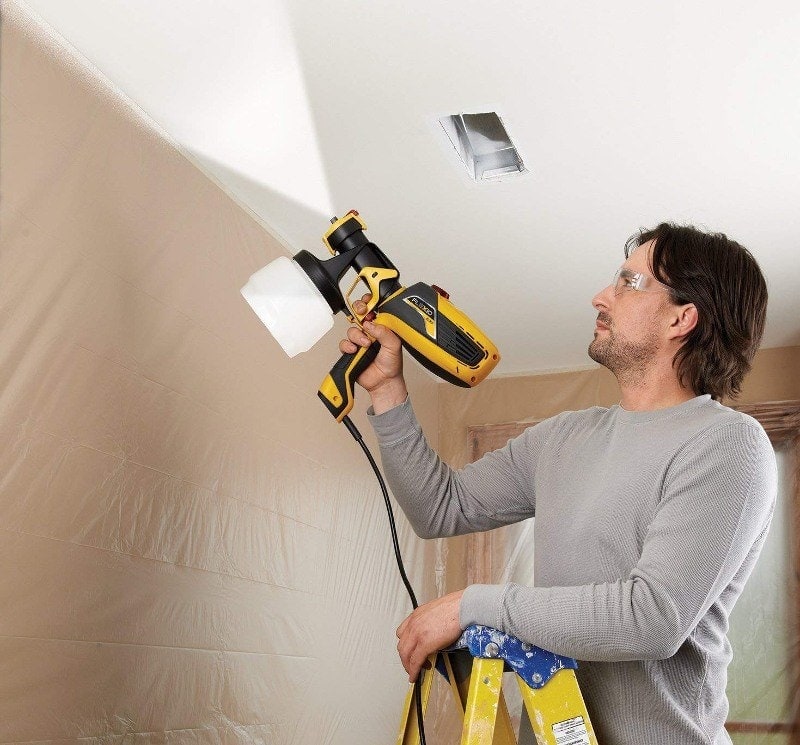
6. Prime and Pigment the Repair
After your texture has dried for the required amount of time (commonly 24-hours), you are ready for the terminal step—priming and painting. In well-nigh cases, a basic white primer is fine and then match whatever color your ceiling is. Keep in heed when purchasing pigment that most ceiling pigment has a flat sheen.
Yous only need to prime the repaired area. Withal, if the ceiling has not been painted in the last few years, then it may look better to pigment the unabridged ceiling. There may be noticeable paint lines one time yous finish if you don't.
If you only want to paint the patched area, then dry-rolling out from the repair volition help blend the new paint with the former. Basically, dry-rolling is where yous go on rolling out by the new area without reloading your paint roller. This is a common pull a fast one on to alloy old and new paint or paint with a slightly different tint or sheen.
Fixing a Small Hole in the Ceiling
If you lot observe only a small-scale hole in the ceiling once you scrape the old texture off, then information technology's not necessary to cut a huge chunk out. Filling the hole with joint chemical compound and embedding a slice of tape beyond the pigsty will be sufficient. After embedding the tape, brand sure you all the same give information technology a concluding coat of compound to smooth it out.
Conclusion
As you tin see in this straightforward stride-by-step, it doesn't have any special training to patch a popcorn ceiling. However, if this is your first fourth dimension doing any drywall piece of work, prepare for a little fleck of frustration. Mudding and taping is an art, only the beauty of popcorn texture is that information technology hides many of the imperfections. So even the most coincidental DIYer tin can accomplish this task and exist proud of the result.
Related Read: How To: Popcorn Ceiling Removal in seven Steps (with Pictures)
Featured Image Credit: Lost in the Midwest, Shutterstock
Contents
1 Earlier You Brainstorm
2 How to Fix a Popcorn Ceiling (6 Steps)
2.1 one. Set up the Work Surface area
2.ii two. Remove Texture from Damaged Ceiling
ii.three 3. Replace Damaged Drywall
2.4 4. Apply Record and Joint Compound if Drywall was Replaced


0 Response to "How To Repair A Popcorn Ceiling"
Post a Comment